Cosplay Adjustments: Saber – Haregi ver.

I purchased my Saber cosplay awhile back from 1/3 Delusion, and I love it immensely. The level of detail and work put into the kimono and details were beyond my expectations. It is as close to the figure as I feel I’ll ever get. So today’s post was just a minor adjustment I made in something already exemplary. And that is…
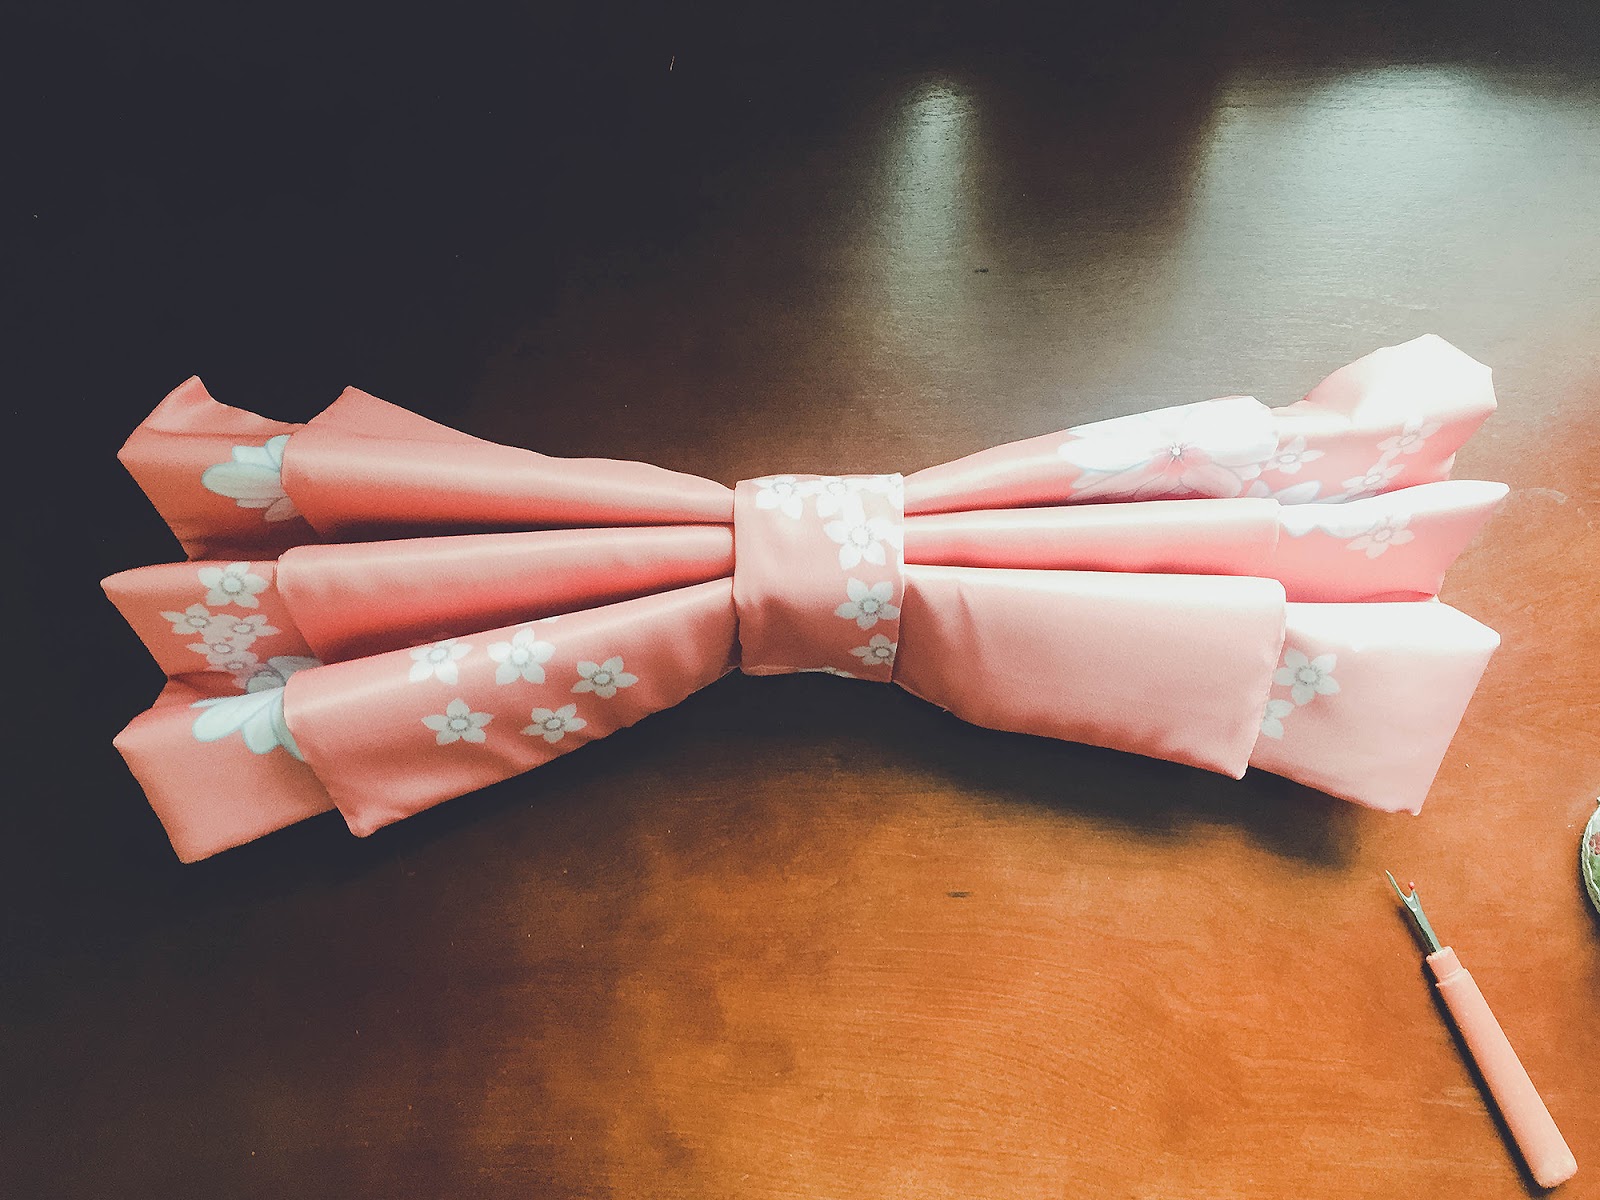
An odd deviation from her original obi design/shape. I think all designers and seamstresses have a reason for everything, but I couldn’t figure out this one. Maybe it’s my inexperience, but I was at a loss on how to make it look like the figure as it was.

I tried scrunching it in a different way, forcing the interfacing to fan out under weight… in the end I decided to remove the interfacing altogether and replace it with something else.

First step was to seamrip (nearly) everything apart from each other. You can see that the interfacing was very stiff, which wasn’t the look I was going for.

The fabric was so cute and perfect, so I did my best to be careful.
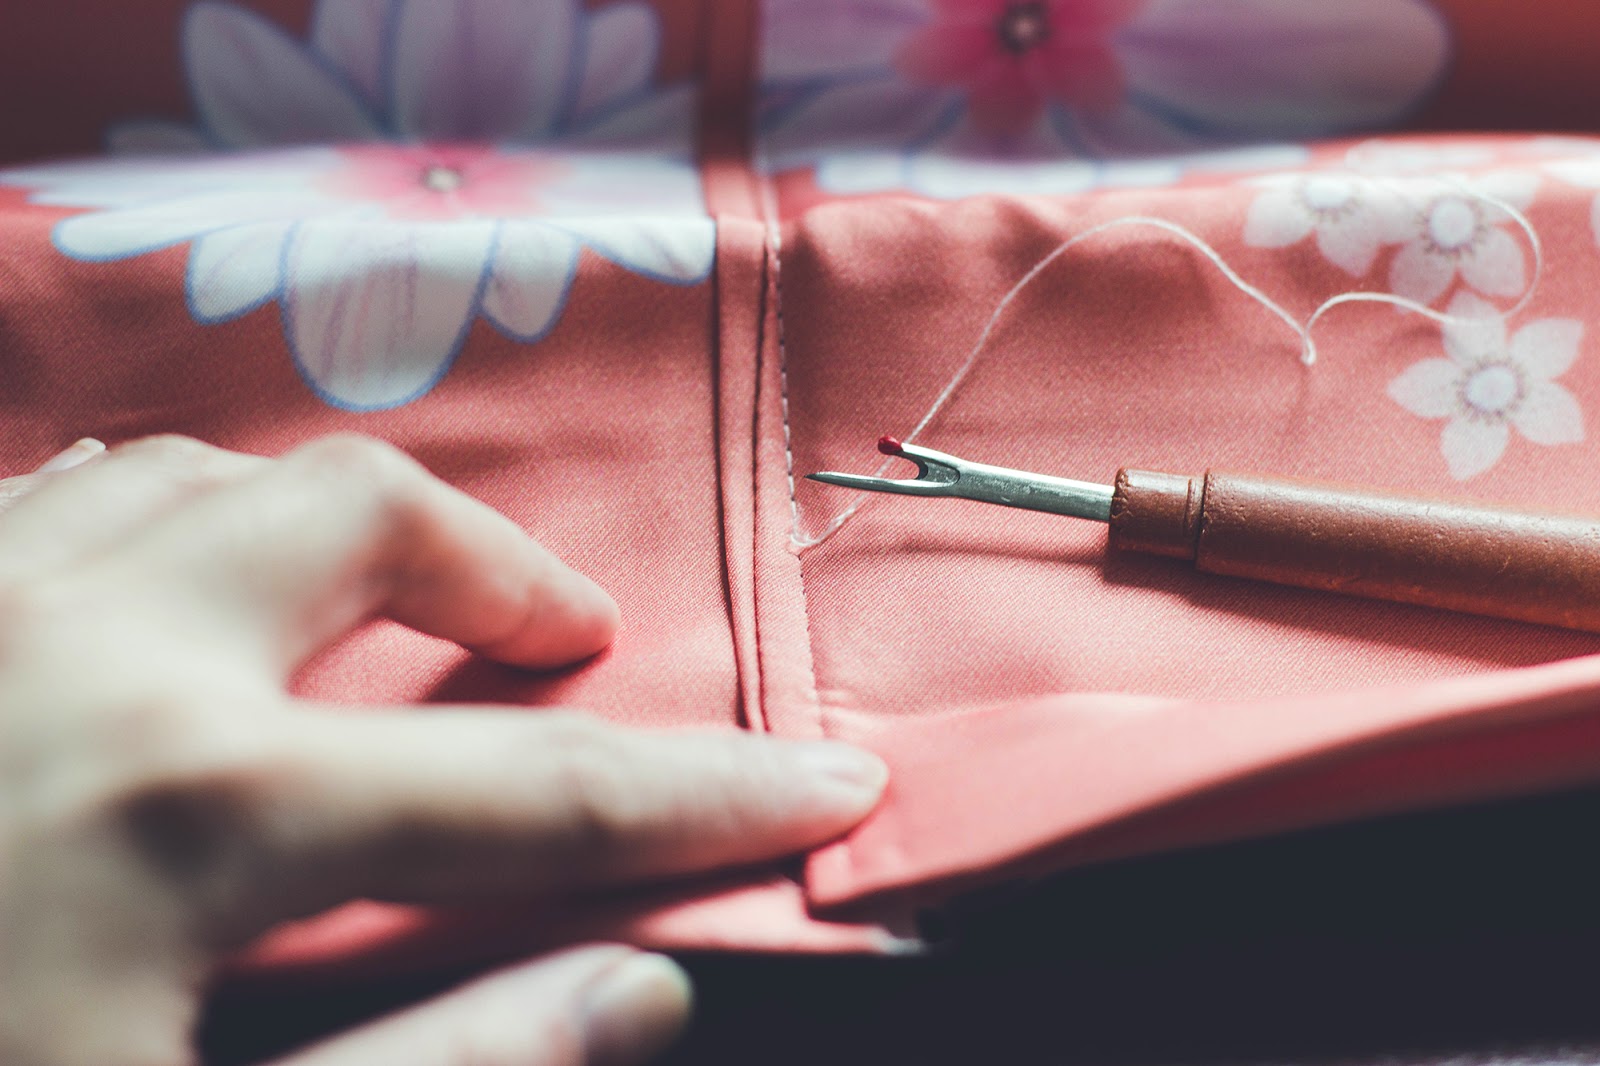
Careful seamripping!

Then I removed the interfacing. Plastic! No wonder.
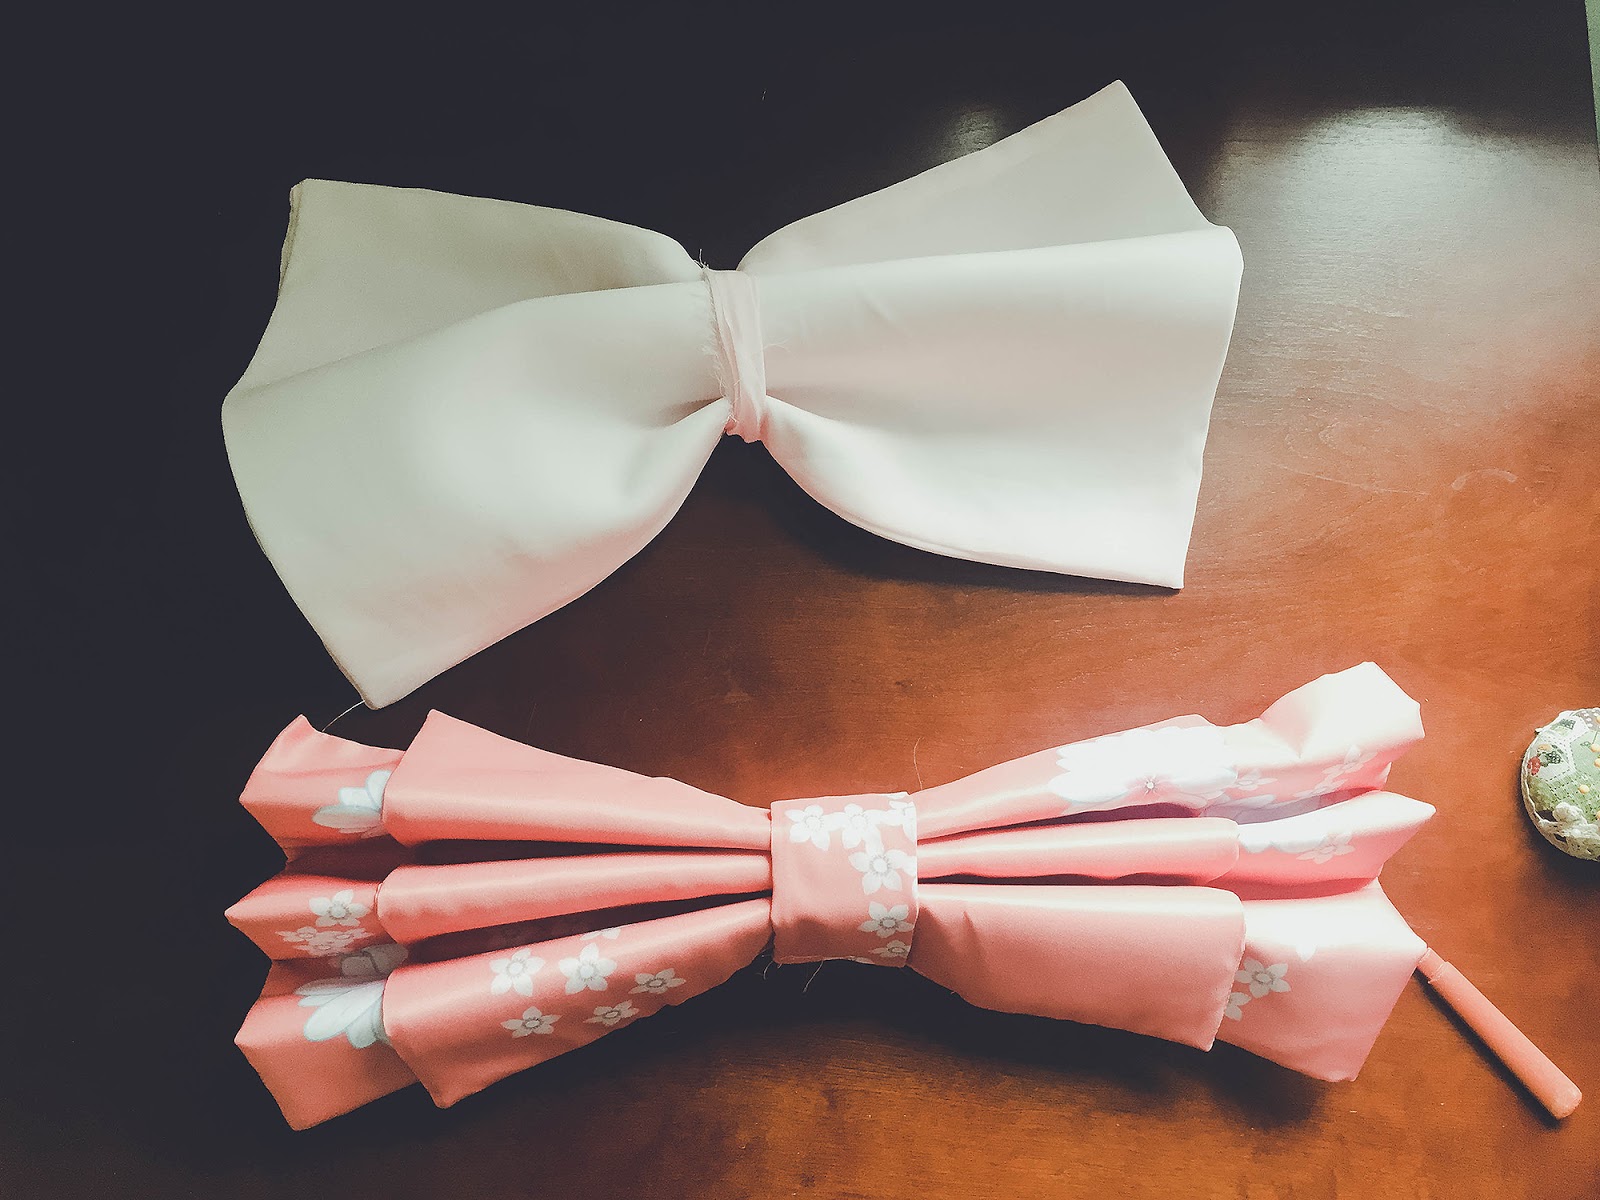
I had my old Fiona (Adventure Time) bow from years ago, so I decided to use that for the interfacing instead! Using craft foam to stiffen bows is a very cheap alternative that allows it to keep its shape while still being lightweight and malleable (trying to weave my way through crowds with fragile costumes is not a fun time).
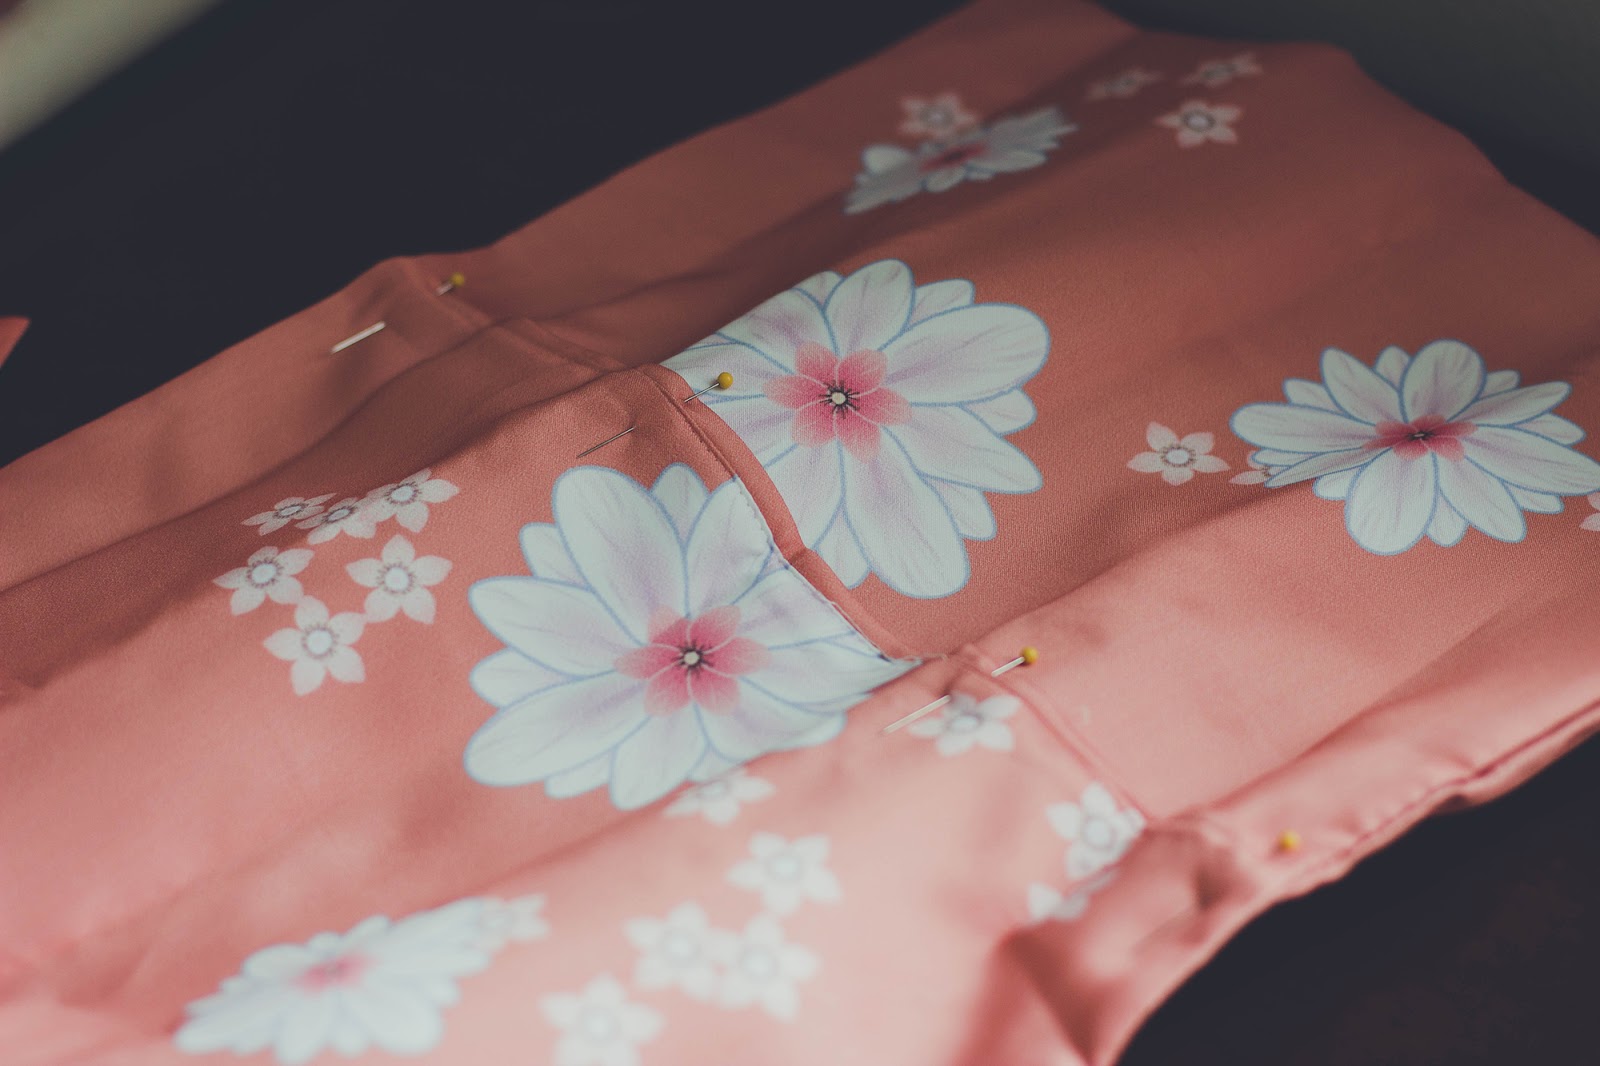
Sewing it back up! I used white thread and topstitched straight through the craft foam, down the middle, as it had originally been. The bow’s band covers up the thread and seam, so it made my life a whole lot easier.
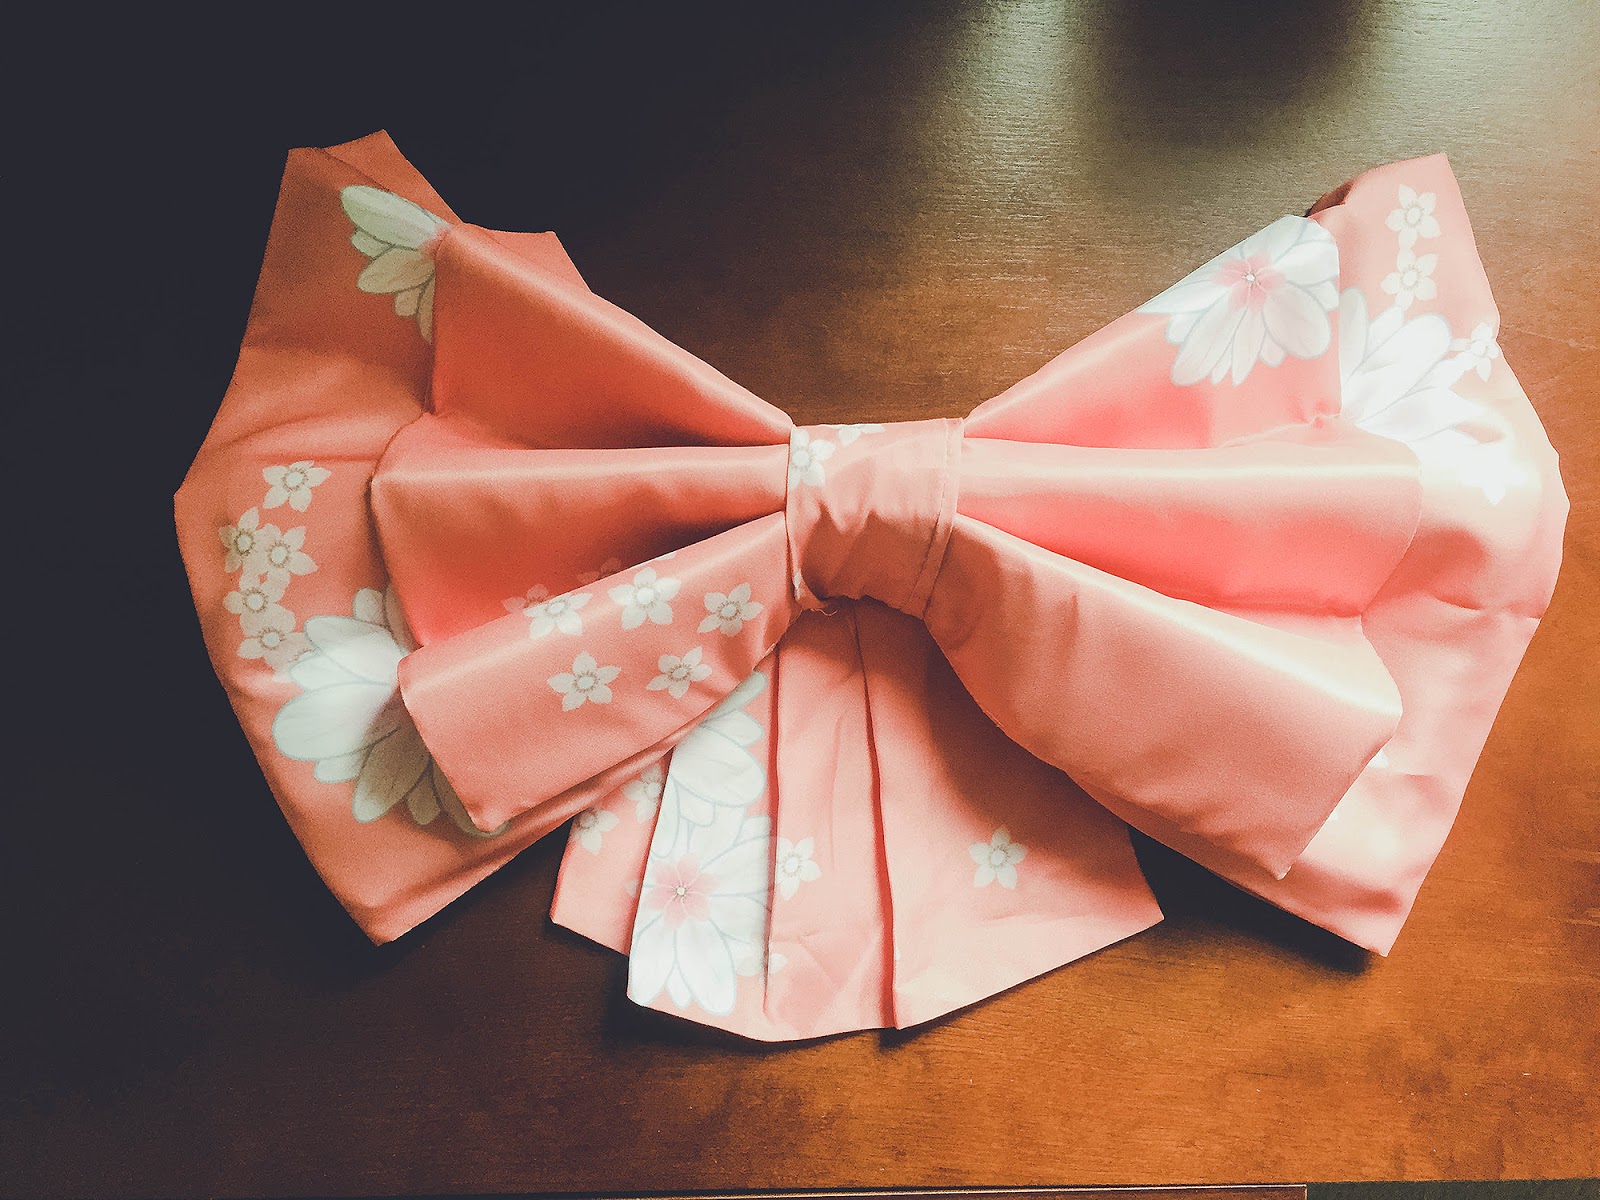
Then I attached the rest of the original bow, and handstitched the band back into place. Voila! Much fuller, and much softer looking. I think I might remove the interfacing in the smaller part of the bow as well, but for now this was a cheap and quick fix that I am content with.